After Effects Tutorial: Faster Rendering with Multi-Machine Network Rendering
Subscribe to Psynaps YouTube Watch Psynaps Live on Twitch
I am going to show you how to make After Effects render video faster by using “multi-machine” network rendering, also called a render farm. In this tutorial, I will use the power of multiple computers to speed up the rending of a short HD video clip.
See more of my videos and downloads at:
http://www.PsyFX.com
In this example, I used After Effects CS 5.5 on two computers, and all the video was stored on a file server.
I won’t go over the specifics of setting up a shared folder in this tutorial, but i will mention this works best over gigabit Ethernet.
Before you start, make sure that each workstation in the render farm has a copy of After Effects. if you are using any plugins or effects in your project, be sure each copy of after effects has those plugins.
The trick to network rendering is turning your video into an image sequence. Then in the last step of the process, you render the image sequence back into a video.
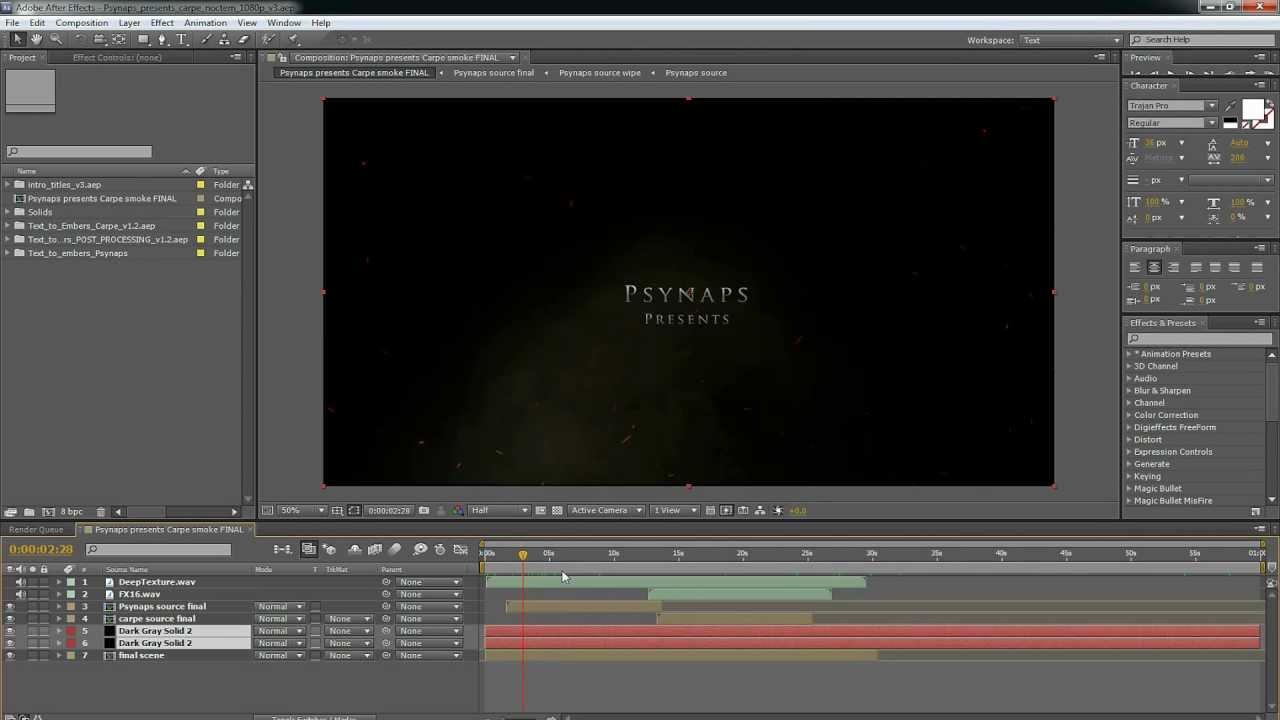
When you are ready to render, select Add to render Q In the composition menu.
Select “multi-machine Settings” for Render Settings in the pull down tab
Select “multi-machine Settings” for the Output mode
In Render Settings, make sure the “Skip existing files…”
Important: SAVE the project at this point.
Open the AE project (located on the shared network drive) on each computer in the network farm.
Now start the render on each computer. They DO NOT have to be started in any particular order. Just open the project file on any computer, and start rendering.
When the render is complete, simplly import the image sequence.
When the import is complete, drag the image sequence to a new composition.
NOTE: if you want to use audio, you must move the audio track here!
Add the comp to a new render queue, and render the movie in your favorite video format. Here I use H263 to make a mp4.
——-
Notes about audio
——-
You must add the audio in the last step. To be more specific, image sequences don’t use audio. Thus, the last step is importing the image sequence, and rendering the image sequence as a video. I simply move the audio track into the final step and render the image sequence + audio track as the final video.